by Christopher Thomas
•
21 January 2019
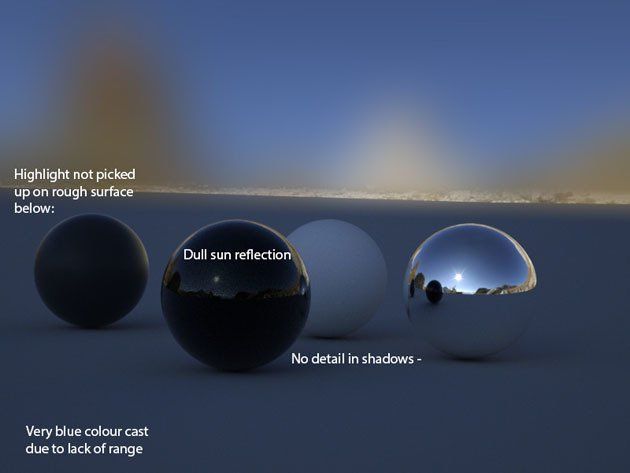
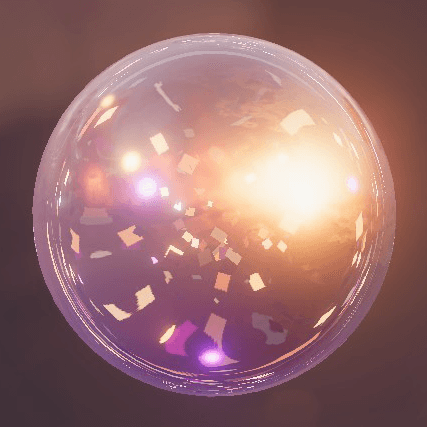
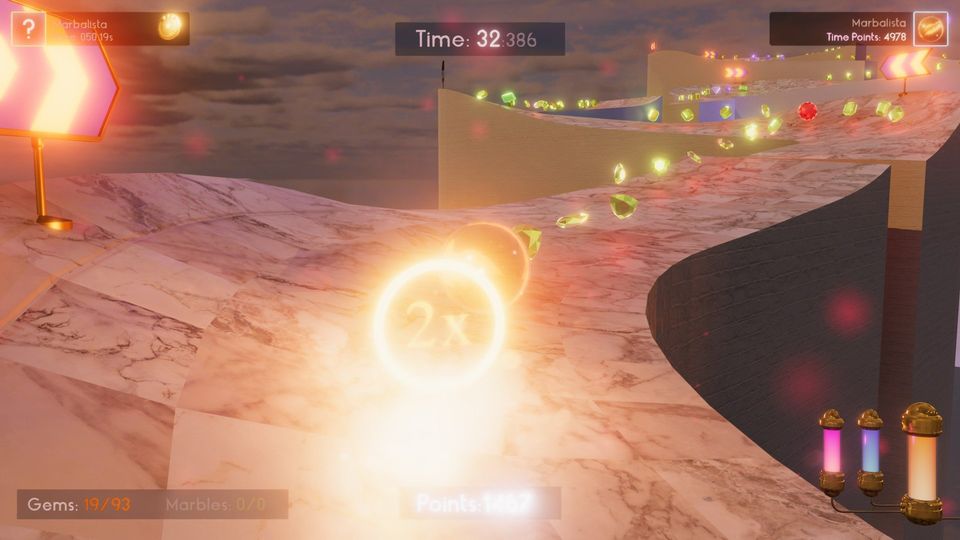
Early in the design of Marble Odyssey, we decided to follow a look that would be more photo-realistic than not. The reason for this was, we wanted our marbles to be a reasonable representation of the real thing. Now real marbles are often made of clear glass, with refraction. We know from our VFX experience that reflections are SUPER dependent on their environment. This meant we had to create or source at least one, or more high-quality Reflection maps, for use in our environments. Being an Indie game, it means that certain aspects of Marble Odyssey have had to be assembled from off the shelf components, we just do not have the man-hours to create everything. So, we sourced a set of synthetic Reflection maps. By synthetic, I mean they are not derived from real-world photographs, but rather from CG renders of various simulated cloudscapes. The advantage of this was price vs variety i.e. we could get a LOT of maps for a reasonable outlay. These maps had clear horizons, with no trees or other elements that would not work in our game. The BIG downside to these maps was, they were all rendered in Low Dynamic Range (LDR). What this means is, that although the file format they are provided in EXR supports High Dynamic Range (HDR), each of the maps luma range was in fact from 0 - 1, with 1 being what we think of as white. Why is this bad? Well, if you expose your scene lighting down, you will find that your environment maps Sun, which is usually white, will appear in-game as light grey. This is really bad. Its made worse in that when you see the same sun reflected in marbles or other surfaces the same issue appears. Let's take another example. If you have a perfectly mirror snooker ball, let's say a black one. Its reflection of the Sun would appear as white. That's despite the fact it's only reflecting back maybe 20% of the environments values. But with LDR, the Sun, as white, would appear as grey in the reflection. So, we need HIGH DYNAMIC RANGE environments to rectify this. So here is how we did this. We take an existing LDR EXR cube map, that represents our scenes reflections. And we load it in Photoshop. Bear in mind, this is a EXR so it will load as a 32bit per channel bitmap, even though its only really making use of 8bit colour really. Here, we duplicate the base map 7 or so times, to create 8 layers in total. On each of those new layers, we colour correct it, getting successively closer to black, so we slowly isolate only the LDR maps highlights. The 7th layer then is totally black apart from the Sun and its halo. Being LDR, quite often the Sun and its Halo are both white, so this becomes one big blob. But we can guess where in there the Sun actually is. Next, we pick a colour in the colour picker, with a Hue that matches our scenes sun i.e. white-yellow at mid-day, and tend more to be strong yellows, oranges and reds in sunset environments. Being a 32bit bitmap, we can choose an exposure level for that colour, and as this will be our Sun, we go for an exposure of 5x - 7x. This means the Sun will be 5x to 7x brighter than White. We then apply this colour as a filled circle, where our sun would be on the 7th layer. What this layer gives us, is a Sun that when the env map is darkened to 20% in reflection or scene exposure, the Sun will still appear as white. Think about it numerically..... White = 100 luma 5x White = 500 luma 20% can be thought of as 0.2 as a multiplier... So if we multiply our 500 luma, by 0.2, it becomes 100 luma, which is till White! Now, with this done, all we need to do is make all 7 layers ADDITIVE in comp mode. This means each layer ADDS its values to the layer below. And this means that each successive layer adds less and less luma, BUT this is more and more focussed on where light actually was in the original LDR image. The result is a new image, where the sky itself is a little brighter than before, but where the clouds, the cloud highlights, and especially the sun and its halo are much brighter. The halo probably has brightnesses of 3x or so, the Sun is 7x, and the cloud highlights are more like 1.5x -> 3x. Now, we process this new image and take it back into our game engine. In-game, our buffed environment now comes alive! Its reflections now are much more photo real and punchy. Metals look much more realistic, and our entire lighting model changes. Hoorah! Baked lighting, using these maps will now have MUCH more contrast, as the sky now has much larger ranges of luminosity. This means bounce light and fill light from the sky will have much more effect. Also, BLOOM on our cameras lens, which makes objects look like they are glowing, is now MUCH more controllable and realistic. You can dial Bloom so it only happens on luma above 2-3, and this tends to be lights, and especially your Sun, with its 5x - 7x luma. This means you ONLY get lens Bloom where it makes sense, and when you get it, its much more effective. Was it worth the effort? Well, its one of those things you may not even be aware of. But certainly to our eye, it certainly was!


